
Car Amp Cable Kit
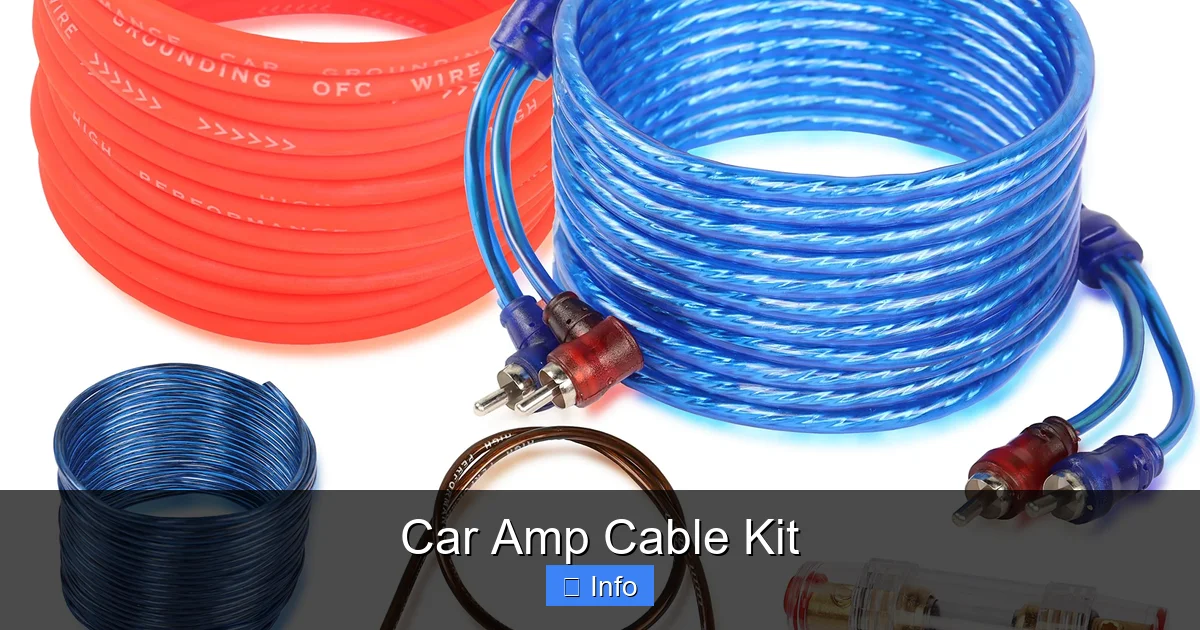
A car amp cable kit is essential for delivering clean power to your amplifier. This guide covers wire gauge selection, kit components, installation best practices, and common pitfalls so you can build a reliable, high-performance car audio system without guesswork.
So you’ve picked out a shiny new amplifier. Maybe it’s a monoblock for that subwoofer thump or a four-channel to wake up your door speakers. Either way, there’s one thing standing between you and that first bass drop: the car amp cable kit. It’s not the sexiest part of the build. No glowing logos, no chrome finishes. But skip it or cheap out, and your expensive amp becomes a very hot paperweight.
I’ve seen too many installs fail because someone grabbed the $15 “amp kit” off the shelf at a big-box store. Thin wire. Flimsy fuse holder. RCA cables that pick up every alternator whine within three counties. The result? Clipping, overheating, blown fuses, and a sound system that embarrasses you at stoplights. A proper car amp cable kit is the foundation. Get it right once, and you never think about it again. Get it wrong, and you’re chasing gremlins forever.
Key Takeaways
- Wire gauge matters most: Choose 4 AWG for most installs, 0 AWG for high-power systems over 1000 watts RMS.
- Complete kits save time: Quality kits include power wire, ground wire, RCA cables, remote turn-on wire, fuse holder, and terminals.
- Oxygen-free copper (OFC) outperforms CCA: OFC offers better conductivity, less voltage drop, and longer lifespan than copper-clad aluminum.
- Fuse placement is critical: Install the main fuse within 18 inches of the battery to protect against short circuits.
- Grounding determines performance: A clean, bare-metal chassis ground point prevents noise and ensures stable amplifier operation.
- RCA routing avoids interference: Run signal cables away from power wires to prevent engine whine and alternator noise.
- Future-proof your install: Buy a kit rated higher than your current amp needs so upgrades won’t require rewiring.
📑 Table of Contents
- What Exactly Comes In A Car Amp Cable Kit
- Choosing The Right Wire Gauge For Your System
- Installation Best Practices That Pros Swear By
- Common Mistakes That Ruin Good Installs
- Matching Your Kit To Your Amplifier And Vehicle
- Budget Vs. Premium Kits: Where To Spend And Where To Save
- Future-Proofing: Plan For Upgrades Now
- Testing And Troubleshooting Your Install
- Conclusion
What Exactly Comes In A Car Amp Cable Kit
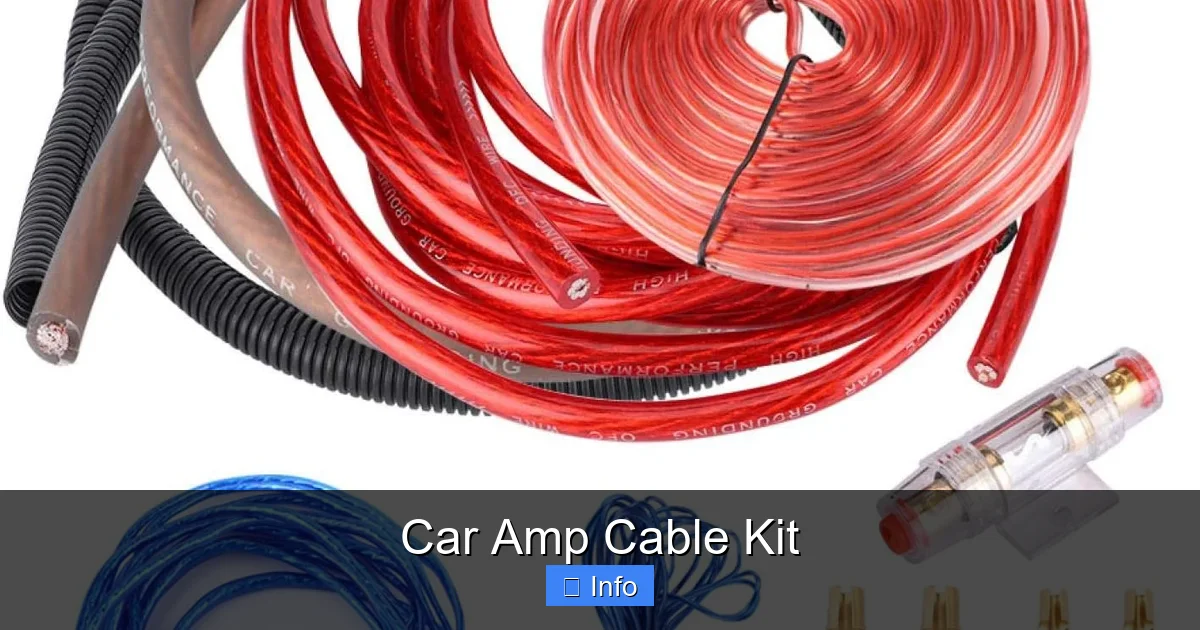
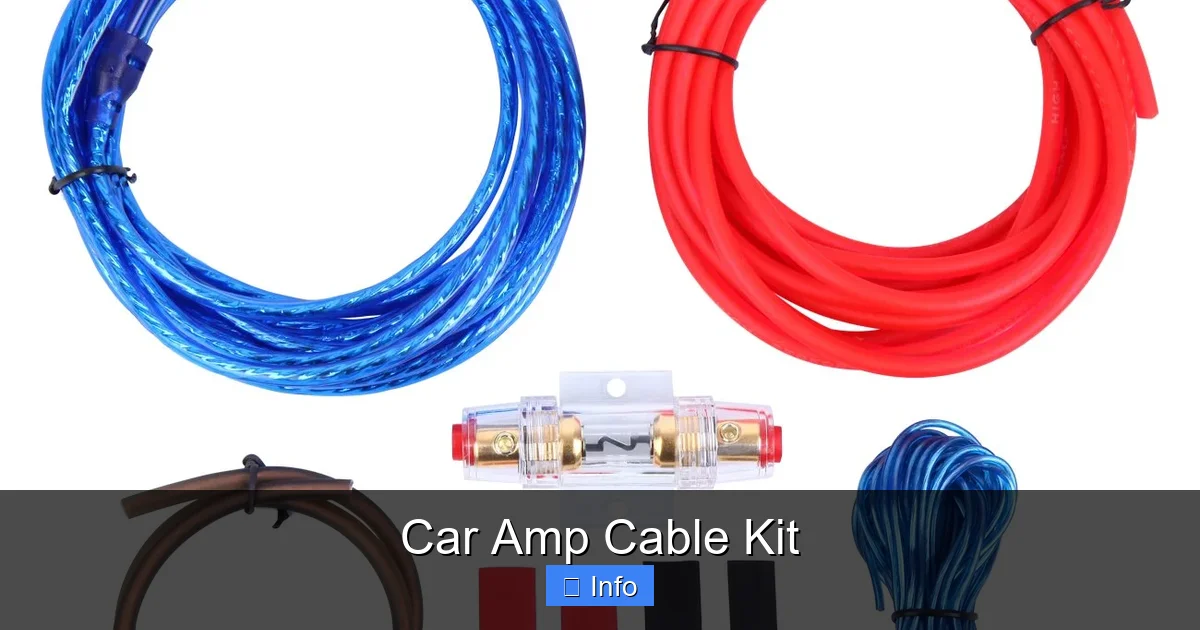
Not all kits are created equal. A complete, install-ready car amp cable kit should include every conductor and connector needed to run power from your battery to your amp and signal from your head unit to your amp. Here’s the checklist.
Power Wire (The Big Red One)
This carries current from your battery to the amplifier. It’s the thickest wire in the kit, usually red, and its gauge (thickness) determines how much power your amp can actually draw. Undersize it, and you starve the amp. Voltage drops. Clipping happens. Heat builds. The magic number for most single-amp installs is 4 AWG. If you’re pushing 1000+ watts RMS or running multiple amps, step up to 0 AWG (also called 1/0).
Ground Wire (The Big Black One)
Same gauge as the power wire. Same length usually. This completes the circuit by connecting your amp’s chassis to the vehicle’s frame. A bad ground causes more noise and instability than almost anything else. The wire must reach a clean, paint-free metal spot within three feet of the amp. No exceptions.
RCA Interconnect Cables
These carry the low-level audio signal from your head unit (or line output converter) to the amplifier. Quality matters here. Cheap RCAs act like antennas for electrical noise. Look for twisted-pair construction, double shielding (foil plus braid), and solid metal connectors. Lengths typically range from 16 to 20 feet. Buy a little extra — you’d rather coil slack than come up short.
Remote Turn-On Wire
Thin. Usually blue. 18 AWG is standard. This tells the amp when to wake up. It connects to the head unit’s remote output (often blue/white wire) or a switched 12V source. Without it, your amp stays on and kills your battery. Or it never turns on. Simple wire, critical job.
Fuse Holder And Main Fuse
This is your insurance policy. The fuse holder goes inline on the power wire, within 18 inches of the battery terminal. The fuse rating matches your amp’s total current draw — usually 60A, 80A, 100A, or 150A. AGU or ANL style fuses are common. A quality holder uses set-screw terminals, not crimp-only, for a secure connection that won’t melt under load.
Terminals, Connectors, And Hardware
Ring terminals for battery and ground connections. Spade or bare-wire ends for the amp side. Grommets for firewall pass-through. Zip ties. Electrical tape. Maybe a small distribution block if the kit targets multi-amp setups. The best kits include tinned copper lugs that resist corrosion. Skip the kits with bare aluminum terminals — they oxidize fast.
Choosing The Right Wire Gauge For Your System
Wire gauge is the single most important spec on the box. American Wire Gauge (AWG) runs backward: smaller number = thicker wire. 4 AWG is thicker than 8 AWG. Thicker wire means less resistance, less voltage drop, and happier amplifiers.
Visual guide about Car Amp Cable Kit
Image source: m.media-amazon.com
Why Voltage Drop Kills Performance
Amplifiers need voltage to make power. Your alternator puts out ~14.4V. By the time that travels 15 feet through undersized wire, you might only see 12.5V at the amp terminals. That 2V drop? It’s not free. It turns into heat in the wire. Your amp tries to compensate by drawing more current. The wire gets hotter. Resistance rises. It’s a vicious cycle that ends with thermal protection kicking in right at the chorus.
Quick Gauge Selection Guide
- Up to 400W RMS total: 8 AWG minimum, 4 AWG recommended
- 400–800W RMS: 4 AWG required
- 800–1200W RMS: 4 AWG okay for short runs, 0 AWG better
- Over 1200W RMS: 0 AWG (1/0) mandatory
- Multiple amps: Run 0 AWG to a distribution block, then 4 AWG to each amp
When in doubt, go one size bigger. The price difference between 4 AWG and 0 AWG in a car amp cable kit is usually $30–50. The labor to re-run wire later? Priceless. I always tell friends: buy for the system you’ll have in two years, not the one you have today.
OFC Versus CCA: The Material Debate
You’ll see two main wire types: Oxygen-Free Copper (OFC) and Copper-Clad Aluminum (CCA). OFC is pure copper with oxygen removed for maximum conductivity. CCA is an aluminum core dipped in copper. CCA is cheaper — sometimes half the price — but aluminum conducts only 61% as well as copper. To get the same current capacity, CCA must be two gauges larger. A 4 AWG CCA kit performs like a 6 AWG OFC kit. Worse, CCA is brittle. It work-hardens and cracks when bent repeatedly. In a car door jamb or under carpet? Bad news. Spend the extra money on OFC. Your future self will thank you.
Installation Best Practices That Pros Swear By
You have the kit. Now the install. This is where good gear becomes great sound — or where good gear gets ruined by bad habits.
Visual guide about Car Amp Cable Kit
Image source: m.media-amazon.com
Route The Power Wire Like A Pro
Start at the battery. Disconnect the negative terminal first. Always. Find a factory grommet in the firewall — usually near the brake booster or steering column. If none exists, drill a hole and install a rubber grommet. Never run wire through a bare metal hole. Vibration will saw through the insulation in months. Run the wire along existing harnesses. Use zip ties every 12–18 inches. Avoid sharp edges, moving parts (steering shaft, pedals), and heat sources (exhaust, headers). Leave slack at both ends for final positioning.
The 18-Inch Fuse Rule Is Not Optional
Mount the fuse holder within 18 inches of the battery. Not 24. Not “close enough.” If the power wire shorts to chassis between the battery and the fuse, you have an unfused direct short. That’s a car fire waiting to happen. The fuse protects the wire, not the amp. The amp has its own fuses. This fuse saves your vehicle.
Grounding: The Most Overlooked Step
Find a factory bolt on the floor pan or seat bracket within three feet of the amp. Sand away all paint, primer, and rust until you see bare shiny metal. Use a star washer between the ring terminal and the metal. Bolt it down tight. Coat with dielectric grease or clear nail polish to seal out moisture. Run the ground wire directly — no splicing, no extending with thinner wire. If you must extend, use the same gauge and solder the joint.
RCA Routing: Separation Is Sanity
Run RCAs on the opposite side of the car from the power wire. Cross at 90 degrees if they must cross. Never run them parallel for more than a few inches. Engine noise, alternator whine, fuel pump buzz — all couple into signal cables like transformers. Twisted-pair RCAs reject common-mode noise, but physical separation is your first line of defense. If you hear whine that changes with RPM, reroute before buying a ground loop isolator.
Remote Turn-On: Tap The Right Source
Use the head unit’s dedicated remote output (blue/white wire). Not the power antenna lead (solid blue) — that drops when you switch to Bluetooth or aux. If your factory radio has no remote out, use a line output converter with remote trigger or tap a switched 12V source (ignition or accessory circuit). Add a 1A inline fuse on this wire too. It’s thin. It burns fast.
Common Mistakes That Ruin Good Installs
I’ve fixed enough botched jobs to write a book. Here are the greatest hits.
Visual guide about Car Amp Cable Kit
Image source: fevelectronics.com
Buying A “Complete Kit” That’s Missing Half The Parts
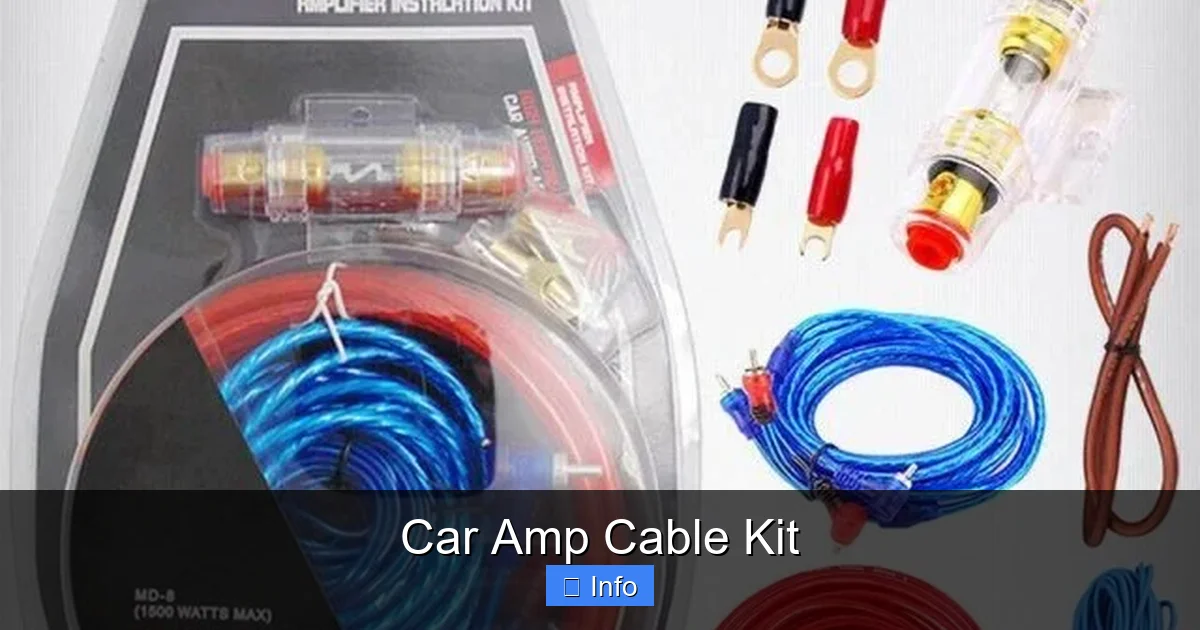
That $29.99 special? Check the contents. Often no RCA cables. Or 10-foot power wire for a trunk-mounted amp in an SUV. Or 10 AWG wire labeled “4 gauge equivalent” (it’s not). Read the fine print. A real car amp cable kit lists every component with actual specs. If it says “includes hardware” but doesn’t specify ring terminal sizes, walk away.
Using The Factory Battery Terminal Bolt
Don’t sandwich your power wire ring terminal under the factory battery clamp. It loosens. It corrodes. It creates resistance. Use a proper battery terminal adapter — a ring terminal that bolts to the side of the battery post, or a distribution post that clamps the factory cable and adds a 1/0 or 4 AWG port. Clean the post with a wire brush first.
Skipping The Firewall Grommet
“I’ll be careful.” Famous last words. Sheet metal edges are razor sharp. Vibration is relentless. One nick in the insulation, and you have a dead short to chassis. A $2 rubber grommet prevents a $2,000 dashboard fire. Install it.
Grounding To A Seat Belt Bolt
Seat belt bolts are structural. They’re hardened steel. They’re also painted, often coated, and critical for safety. Don’t drill them. Don’t loosen them. Find a dedicated ground point or a non-structural factory bolt on the floor pan. If you must create a ground point, use a self-tapping screw with a star washer on clean metal — but a factory bolt is always better.
Running RCAs Next To The ECU Or Ignition Coils
Modern cars are full of noisy electronics. The ECU, ignition coils, fuel injectors, ABS module — all radiate RFI. Keep signal cables at least 12 inches away. If you must pass near them, use shielded RCAs and ground the shield at the head unit end only.
Matching Your Kit To Your Amplifier And Vehicle
One size does not fit all. A compact sedan with a 300W mono amp needs different wire than a crew-cab truck with a 2000W system.
Single Amp, Trunk Mount, Under 600W RMS
A standard 4 AWG OFC kit with 17-foot power/ground, 16-foot RCAs, 20-foot remote, 60A fuse, and all terminals handles this perfectly. Total wire run ~15 feet. Voltage drop under 0.5V. Clean install, one afternoon.
High-Power Mono Amp (1000W+ RMS) In SUV Or Truck
You need 0 AWG. Run length might be 20+ feet. A quality 0 AWG car amp cable kit includes 25-foot power/ground, 20-foot RCAs, 150A ANL fuse, and heavy-duty lugs. Consider a distribution block at the amp if you’ll add a second amp later. The best power wire for car audio in this class uses high-strand-count OFC for flexibility in tight truck cabins.
Multi-Amp Systems: Distribution Blocks Are Your Friend
Run a single 0 AWG from battery to a fused distribution block near the amps. Then 4 AWG from the block to each amp. Each amp gets its own fuse at the block. This keeps the main run clean, minimizes voltage drop, and lets you pull one fuse to isolate an amp for troubleshooting. The best subwoofer and amp kit for car often includes a distribution block for exactly this scenario.
Factory Integration: Line Output Converters And Remote Trigger
If you’re keeping the factory radio, you need a line output converter (LOC) to get preamp signals. Some LOCs generate a remote turn-on signal from speaker wire voltage. Others need a separate 12V switched source. Your car amp cable kit remote wire connects to whichever the LOC provides. Make sure the kit includes enough remote wire for the longer run to the dash.
Budget Vs. Premium Kits: Where To Spend And Where To Save
Price range on car amp cable kit options spans $40 to $300+. Here’s how to decide.
What You Get For $40–70 (Entry Level)
Usually 4 AWG CCA or marginal OFC. Thin insulation. Stamped terminals. Basic AGU fuse holder. RCAs with molded plastic ends. Works for 300–500W installs in small cars. Fine for a first build on a tight budget. Just know the limitations.
The Sweet Spot: $90–150 (Mid-Range OFC)
True 4 AWG or 0 AWG OFC. High strand count (flexible). Tinned copper lugs. ANL or MAXI fuse holder with set screws. Twisted-pair shielded RCAs with metal ends. Full hardware kit. Grommets. Split loom. This is what most enthusiasts should buy. Brands like KnuKonceptz, Sky High, and InstallGear live here. You install once, it lasts decades.
Premium: $200+ (Competition Grade)
Hyper-flexible welding-cable-style wire. 5000+ strands. Rhodium-plated terminals. CNC-machined fuse blocks. Techflex sleeving. Custom lengths. Overkill for 99% of installs. Buy if you’re competing, showing, or just want the best. Not necessary for great sound.
Don’t Forget The Little Things
Budget an extra $20–30 for: quality crimp tool (not pliers), heat shrink tubing, dielectric grease, wire loom, extra zip ties, a multimeter, and panel removal tools. The kit gets wire to the amp. These tools make it stay there reliably.
Future-Proofing: Plan For Upgrades Now
Car audio is addictive. Today it’s a sub and mono amp. Next month it’s components and a 4-channel. Six months later, a second battery and a high-output alternator. The best 250 amp alternator for car audio becomes relevant when your voltage sags at idle. The best second battery kit for car audio solves the dimming-headlights problem. But none of that works if your power wire is already maxed out.
Run 0 AWG Even If You Only Need 4 AWG Today
The labor is identical. The wire cost difference is small. The RCA and remote wires are the same. When you add that second amp, you just add a distribution block and two short 4 AWG runs. Done in an hour. If you ran 4 AWG main? You’re pulling it all out and starting over. That’s a weekend lost.
Leave Pull Strings
When fishing wire through doors, rockers, or under carpet, leave a nylon pull string (mason line) in the channel. Tape it to the wire. When you upgrade, tie the new wire to the string and pull. No re-fishing. No broken clips. No cursing.
Label Everything
At the amp rack, at the distribution block, at the head unit — label every wire. “Sub Amp Power,” “Front Amp Ground,” “RCA Left,” “Remote.” Use a label maker or heat-shrink labels. Six months later, you’ll know exactly what’s what. Your installer (or future you) will buy you a beer.
Testing And Troubleshooting Your Install
Wire’s in. Connections tight. Fuse inserted. Moment of truth.
Before Powering Up: The Resistance Check
Set multimeter to ohms. Probe from battery positive terminal to amp power terminal. Should read near zero (under 0.1 ohm). Probe from amp ground terminal to battery negative. Same. Probe power to ground at amp — should be open (OL). Any continuity there means a short. Find it before the fuse does.
Voltage Drop Test Under Load
Play a 40Hz test tone at high volume. Measure voltage at battery, then at amp power terminal. Difference should be under 0.5V. Over 1V? Wire too small, connection loose, or fuse holder resistive. Fix it.
Noise Diagnosis
Hear whine? Unplug RCAs at amp. Noise stops? Source side issue (ground loop, bad RCA routing). Noise remains? Amp ground or power issue. Systematically isolate. Don’t just throw ground loop isolators at it — they degrade signal quality.
Gain Setting: The Final Step
Wire doesn’t matter if gains are wrong. Use a DD-1, oscilloscope, or the “by ear with test tones” method. Set gains so amp clips at max volume on your cleanest source. Never max the gain knob. That’s how you blow subs and overheat amps.
Conclusion
A car amp cable kit isn’t glamorous. It hides under carpet, behind panels, inside fenders. But it’s the circulatory system of your sound. Every watt your amplifier makes travels through that wire. Every note your speakers reproduce rides on those RCAs. Skimp here, and the best gear in the world can’t save you. Invest in quality OFC wire, proper gauge, solid terminals, and shielded signal cables. Install with care — fuse at the battery, ground to clean metal, separate power from signal. Do it once, do it right, and your system will deliver clean, powerful, reliable sound for years. The bass hits harder. The highs stay clean. The volume knob goes further without distortion. And you? You just smile every time the light turns green and you hit play.
Frequently Asked Questions
What gauge wire do I need for a 1000 watt amp?
For a 1000W RMS amplifier, use 0 AWG (1/0) oxygen-free copper wire for runs over 15 feet. For shorter runs under 12 feet, 4 AWG OFC may suffice, but 0 AWG provides better voltage stability and room for future upgrades.
Can I use copper-clad aluminum (CCA) wire for my amp install?
CCA wire works for low-power systems under 300W RMS, but it’s not recommended for serious installs. Aluminum conducts only 61% as well as copper, requiring two gauge sizes larger for equivalent performance. CCA also work-hardens and cracks with vibration, leading to failures over time.
Where should I mount the fuse holder on my amp power wire?
Mount the main fuse holder within 18 inches of the battery terminal. This protects the vehicle from a catastrophic short circuit if the power wire insulation wears through against the chassis between the battery and the amplifier.
Why does my car audio system have alternator whine after installing an amp?
Alternator whine usually comes from RCA cables running parallel to power wires or poor grounding. Reroute RCAs on the opposite side of the vehicle, ensure the amp ground connects to bare metal within 3 feet, and verify the head unit and amp share a common ground reference.
Do I need a distribution block for a single amplifier?
No, a distribution block isn’t needed for a single amp. Run the main power wire directly to the amplifier. Add a distribution block only when adding a second amplifier, so each amp gets its own fused feed from the main power run.
How do I know if my car amp cable kit is oxygen-free copper (OFC)?
Check the packaging and wire jacket printing. True OFC kits explicitly state “Oxygen-Free Copper” or “100% OFC” and list strand count (e.g., “2,000+ strands”). CCA kits often say “Copper-Clad Aluminum” or “CCA” in small print. Price is also a clue — genuine 4 AWG OFC kits rarely cost under $80.


